
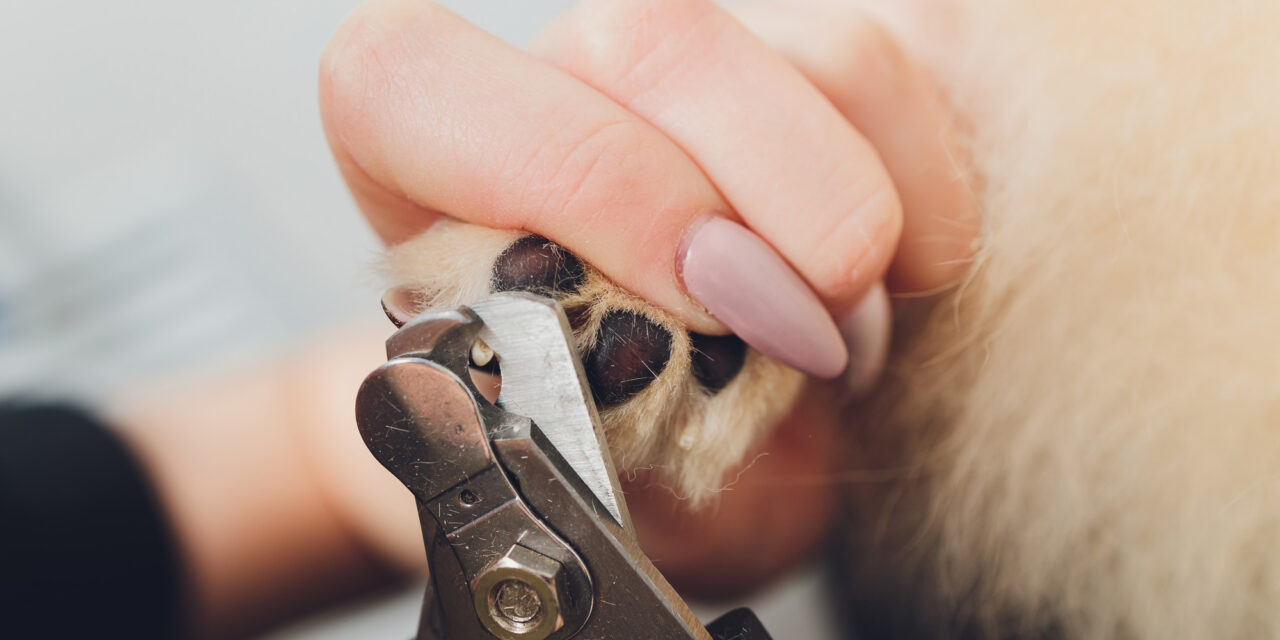
How to trim dog nails without turning it into a wrestling match? Go slow, know where the quick is, and take off a little at a time. Let your dog opt in rather than pinning him down. Most nail trims go wrong not because of the clippers. It’s what happened in the ten minutes before anyone picked them up.
This guide covers three things that actually determine whether nail trims stay easy for years. They are gentle preparation and the right tool for your dog and his nails. The third is knowing exactly when to hand the job to a groomer or vet instead. None of these three require special talent. It just takes a bit of patience and the right order of operations.
You’ll get a cooperative-care approach your dog can genuinely participate in, plus a clear technique for light and dark nails. There’s also a plan for the day you nick the quick anyway.
What’s in this guide
- How to trim dog nails: the quick answer
- Why nail length actually matters
- Signs your dog’s nails are too long
- Understanding the quick
- Choosing the right tool
- Gentle preparation: setting up for success
- Reading your dog’s stress signals
- Cooperative care: teaching your dog to participate
- Three dogs, three approaches
- A step-by-step trimming session
- How much to trim on light and dark nails
- How often you should trim
- Dewclaws need their own attention
- Keeping cooperative care going long term
- If you cut the quick: bleeding first aid
- Troubleshooting a dog who won’t hold still
- Starting nail trims with puppies
- Senior dogs and nail care
- Common nail-trimming mistakes
- Common myths about nail trims
- When nail changes point to something else
- When to turn to a groomer or vet
- Grinding, filing, and other options
- Your nail-trimming checklist
- Common questions about trimming dog nails
- Sources
How to trim dog nails: the quick answer
Trim a little at a time, following the nail’s natural downward angle. Stop well before you reach the quick, the pink or dark, blood-rich core inside each nail. Most healthy adult dogs need a trim roughly every three to four weeks. Dogs who walk often on concrete may need it less.
The technique matters less than the setup. A dog who’s been gradually taught that clippers predict good things holds still far more easily. Compare that to one who’s ambushed with them twice a year. That’s the real answer to how to trim dog nails without a fight. Most of the work happens before the clippers ever touch a nail.
The three things that actually matter
Gentle preparation turns a stressful event into a routine one. The right tool for your dog’s size and nail color makes the technique itself easier. Knowing when a groomer or vet should take over matters too. It protects both of you from a bad experience that’s hard to undo.
Why nail length actually matters
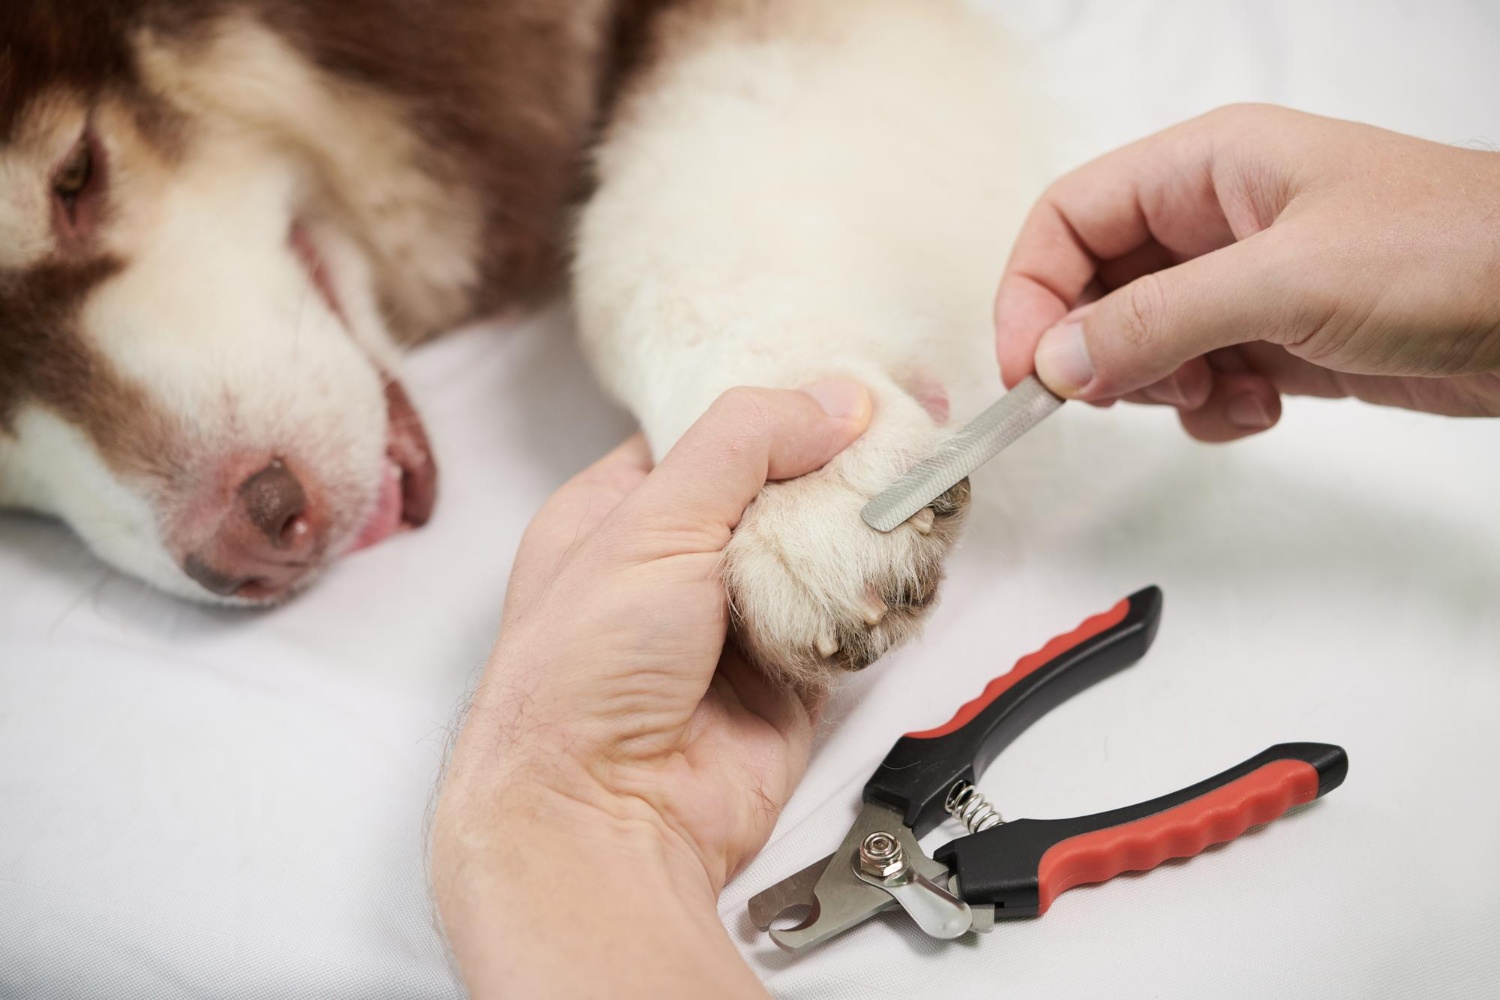
Overgrown nails change how a dog’s foot meets the ground. Long nails alter the mechanics of the paw, which can cause pain and reduce traction on smooth floors. Over time, that changes posture and gait, not just comfort during a single walk.
Nails that curl over the paw pad, especially dewclaws, can eventually grow into the skin, causing infection and pain. Senior dogs feel this most. Existing joint issues combine with poor traction to make overgrown nails a mobility problem, not just a cosmetic one.
Everyday activities show the effect clearly. Jumping onto furniture, navigating stairs, and making a quick turn on a hardwood floor all rely on the same thing. Nails need to be short enough to let the paw pad make full contact with the ground. When nails are long enough to hit the floor first, that contact shifts. The paw compensates in ways that add strain over time.
Signs your dog’s nails are too long
Veterinary sources describe several observable signs that a trim is overdue. This list comes from Great Pet Care (Tierra Price, DVM, reviewed by Brittany Kleszynski, DVM).
- Audible clicking on hardwood or tile floors with every step.
- An altered gait that looks like tip-toeing, with the paws held slightly raised.
- Visible curling over the paw pad, particularly on the dewclaw.
- Slipping or sliding on smooth floors, especially on turns.
- Limping or favoring a leg with no other obvious cause.
- Excessive paw licking, which can signal nail-related discomfort.
- Redness or bleeding at the nail bed, which can signal infection and needs a vet, not just a trim.
One or two of these on their own aren’t alarming. Several at once, or a nail bed that looks inflamed, is worth a closer look before your next scheduled trim.
Checking for these signs weekly, even outside of scheduled trim days, catches overgrowth earlier. Waiting for the calendar alone to say it’s time misses that early window. A quick glance while your dog rests nearby costs nothing and often reveals the answer before the clicking starts.
Understanding the quick
The quick is the nail’s living core, where the blood supply and nerve endings sit. Cutting into it hurts your dog and causes bleeding. That’s why most of nail-trimming technique is really about finding this boundary safely.
On light or white nails
The quick shows up as a pink triangle visible from the side or from above. Trim just short of where the pink begins, leaving a small margin of white nail.
On black or dark nails
The quick doesn’t show from above. Look at the underside of the nail instead. The quick appears as a softer, slightly “crumbly” texture that looks different from the harder outer shell. Trim in small increments and check the cut surface after each one. Stop the moment you see a black dot appear in the center, since that signals you’re getting close.
The quick grows too
As nails go untrimmed and lengthen, the quick grows longer right along with them. This is exactly why consistent trimming matters. A well-maintained nail keeps the quick shorter and gives you more safe room to work with at every session.
Choosing the right tool
The right tool depends on your dog’s size, nail thickness, and how he responds to noise and pressure. Trying to use the wrong style of clipper is one of the most common reasons trims go badly.
| Tool | Best for | Watch out for |
|---|---|---|
| Scissor-style clippers | Small dogs, thin nails | Less leverage for thick nails |
| Plier-style clippers | Medium and large dogs, thicker nails | Heavier, takes some hand strength |
| Guillotine-style clippers | Dogs who already tolerate trims well | Harder to judge depth; many vets discourage them for beginners |
| Nail grinder | Dark nails, gradual filing, smoothing edges | Noise and vibration can spook an anxious dog; hair can catch |
| Dog weight | Typical nail thickness | Clipper size guidance |
|---|---|---|
| Under 20 lbs | Thin to moderate | Small scissor-style |
| 20–50 lbs | Moderate | Medium plier-style |
| Over 50 lbs | Thick, dense | Large plier-style, heavy-duty spring |
Treat this table as a starting point. A large dog with naturally thin nails may need a size down. A small dog with unusually thick ones may need a size up from what his weight alone suggests.
Plier-style clippers with a safety guard are a reasonable default for most first-time owners. A grinder is worth adding later, once your dog tolerates handling well. It removes small amounts more gradually and can be gentler on dark nails where the quick is hard to see.
What to look for when buying clippers
A sharp, well-maintained blade matters more than brand or price. Dull blades crush the nail instead of cutting it cleanly. That’s more likely to cause pain and splitting, even at a safe length. Look for a comfortable grip sized to your own hand. Replace clippers once the blade feels like it’s tearing rather than slicing through cleanly.
Budget tools work fine if they’re sharp
An inexpensive clipper with a fresh, sharp blade beats an expensive one that’s been dulled by months of use. Check the blade before every session, not just when you buy the tool.
Gentle preparation: setting up for success
Preparation is where most nail-trimming problems actually get solved, long before any nail gets cut. A few small setup choices make a measurable difference.
- Choose a calm, well-lit space. A bright room makes the quick easier to see and reduces the odds of a surprising shadow or sound.
- Trim after exercise, not before. A dog who’s had a walk is generally calmer and more willing to hold still.
- Have treats ready before you start, not fumbled for mid-session.
- Let your dog see and sniff the tool first. A clipper that appears out of nowhere is more alarming than one he’s already investigated.
- Pick a time when you’re not rushed. Rushing is felt by your dog and tends to make him more resistant, not less.
Regular paw handling pays off everywhere
Touching your dog’s paws briefly during ordinary petting, completely separate from trim days, builds real tolerance. It prepares him for the handling a trim eventually requires. A dog whose paws get touched often finds a trim far less novel. Compare that to one whose feet are only ever grabbed right before clippers appear.
Reading your dog’s stress signals
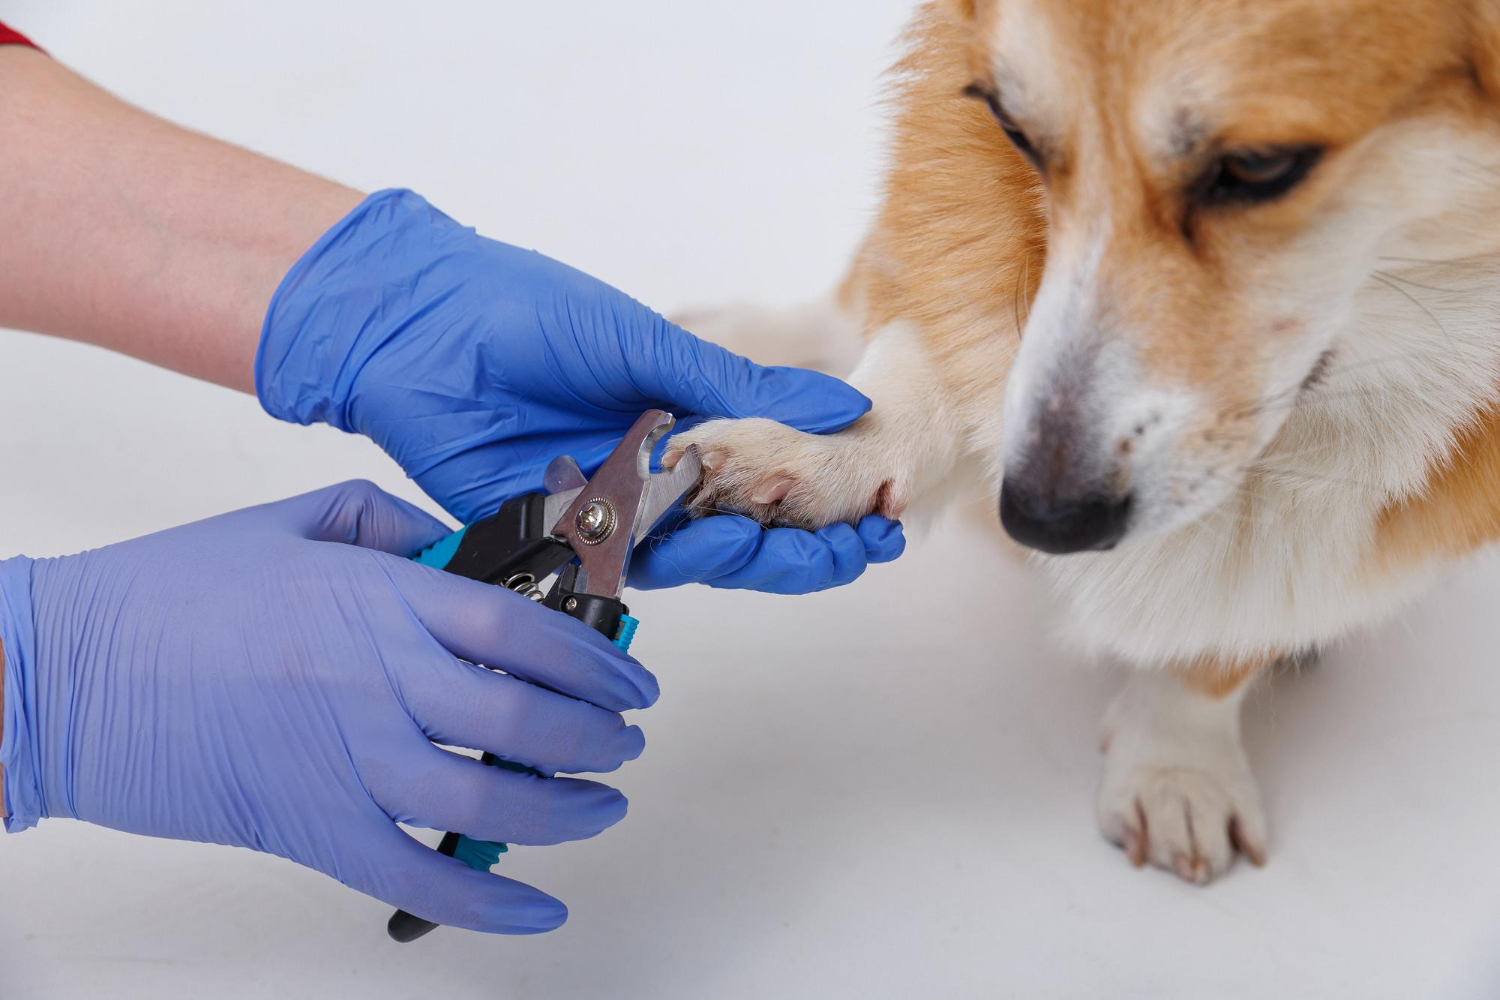
Cooperative care only works if you actually notice when your dog is asking for a pause. Dogs communicate discomfort well before growling or pulling away outright, and catching those earlier signals keeps a session from escalating.
- Lip licking with no food nearby, often quick and repeated.
- Whale eye, where the whites of the eyes show as he turns his head away.
- Yawning outside of tiredness, a common stress signal in dogs.
- A stiff, still body instead of his normal relaxed posture.
- Tail tucked or held low, compared to his usual carriage.
- Turning his head or body away from the paw being handled.
Early signals are information, not disobedience
A dog showing these signs isn’t being difficult. He’s telling you the current step is too much right now. Pausing, backing up a stage, and trying again later almost always works better than pushing through.
Cooperative care: teaching your dog to participate
Cooperative care means teaching your dog to actively participate in his own grooming and handling. That’s different from simply tolerating it or being restrained through it. The approach gives your dog a way to communicate “start,” “continue,” or “stop.” That builds trust and reduces fear over time.
This matters for more than comfort. Dogs trained with cooperative care become more at ease with handling generally. Early, gentle paw handling helps too. It can help you and your vet notice problems before they become serious. Think an ingrown nail or a sore toe.
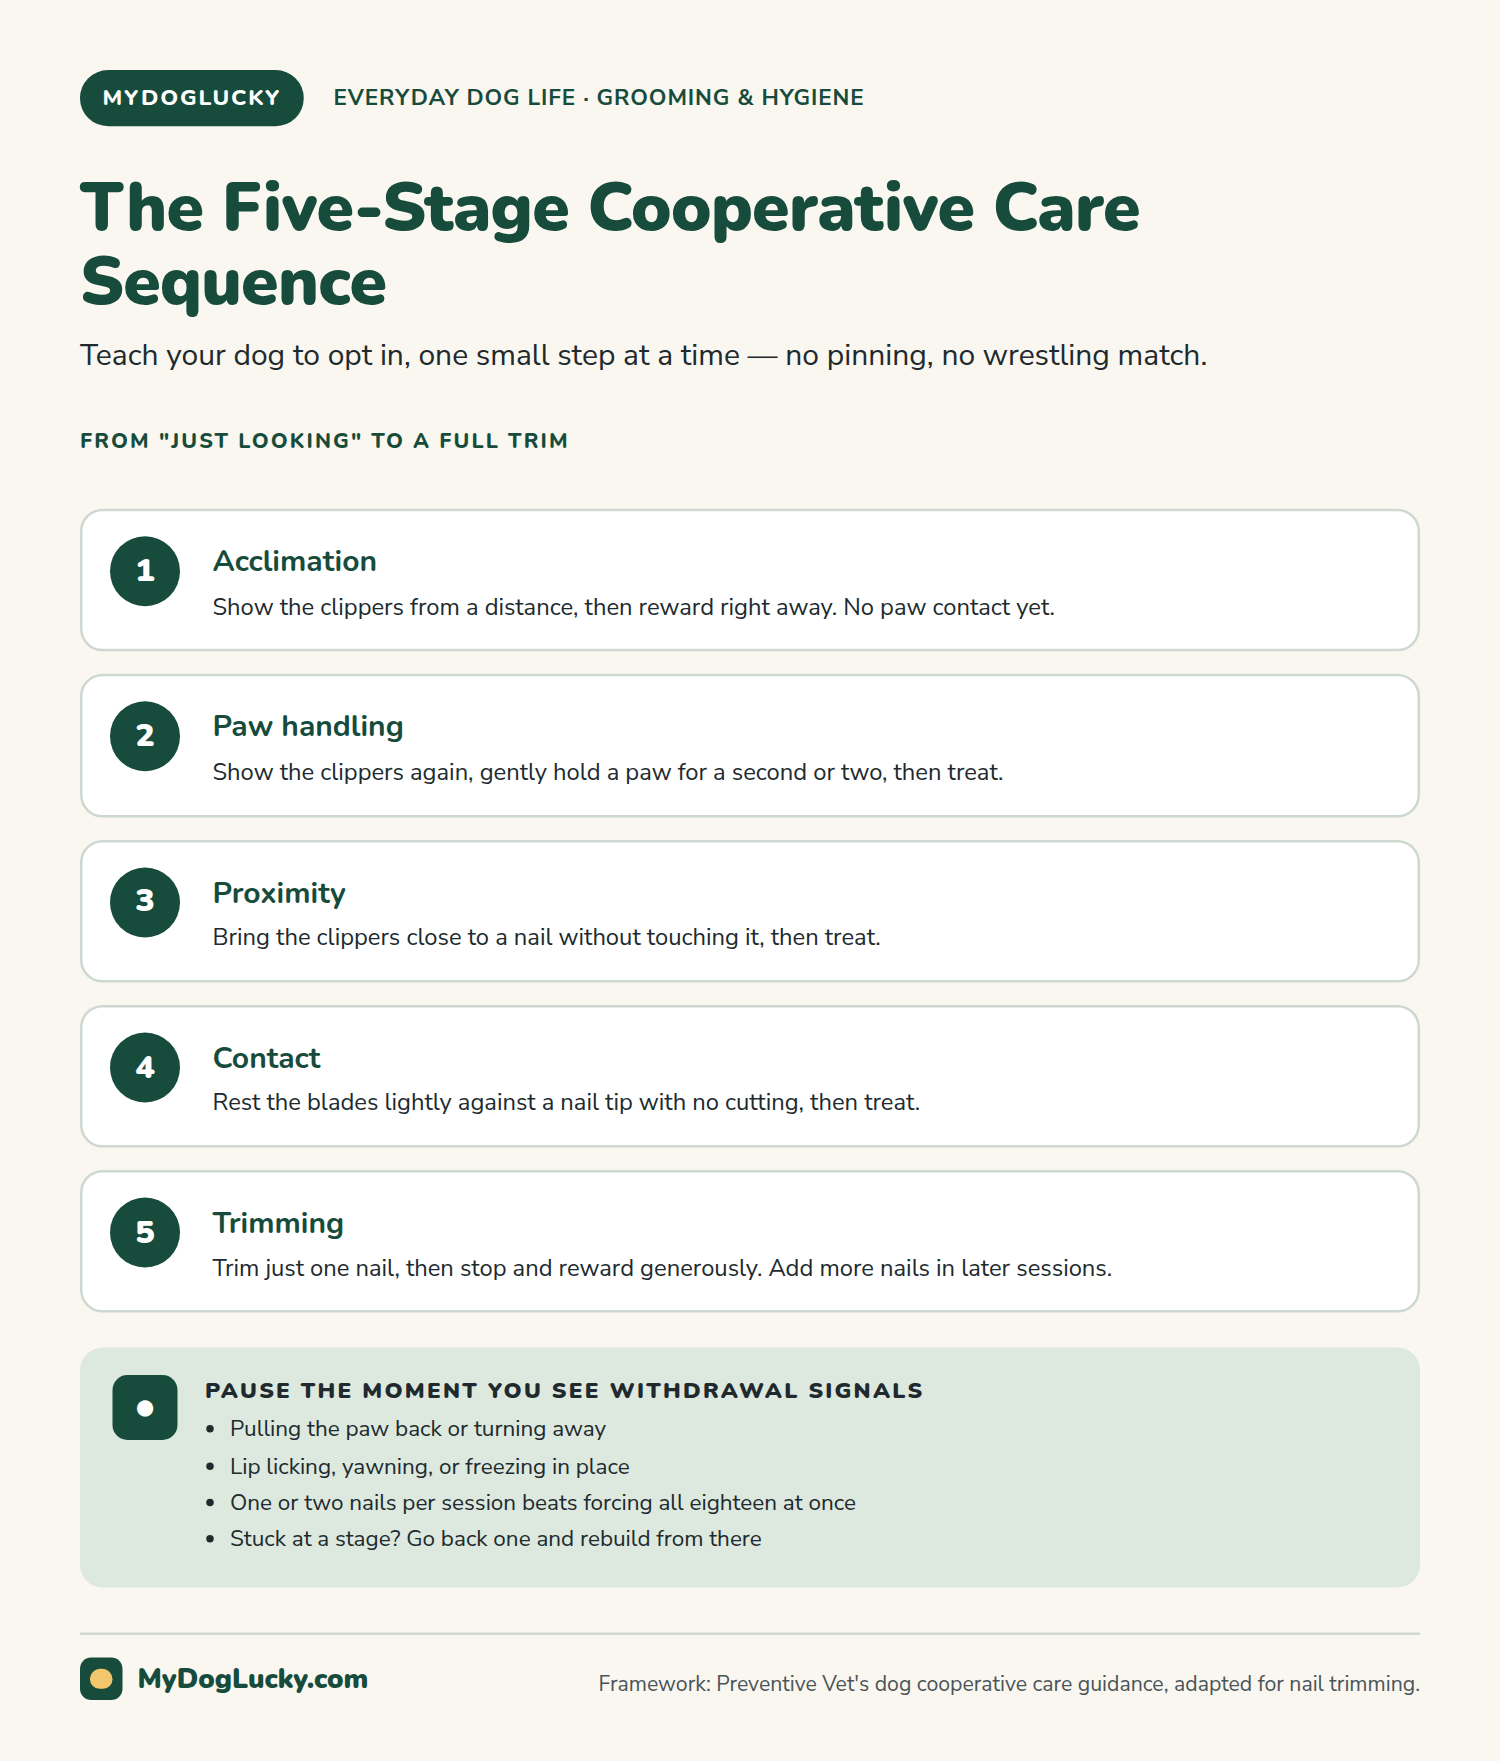
Five stages to build up to a full trim
- Acclimation. Show your dog the clippers from a distance, then immediately reward with a treat. No paw contact yet.
- Paw handling. Show the clippers again, then gently hold a paw for a second or two, then treat.
- Proximity. Bring the clippers close to a nail without touching it, then treat.
- Contact. Rest the clipper blades lightly against a nail tip with no cutting, then treat.
- Trimming. Trim just one nail, then stop and reward generously. Add more nails only in later sessions.
There’s no rush to finish all four paws in one sitting
Trimming one or two nails per session, spread across several days, beats forcing all eighteen in one stressful sitting. Watch for withdrawal signals, like pulling the paw back or turning away. Pause the moment you see them rather than pushing through. This is how to trim dog nails without turning your dog against the whole process.
Three dogs, three approaches
The five stages play out differently depending on the dog in front of you. Here’s how the same framework adapts to three different starting points.
A confident eight-week-old puppy, no history with clippers
This puppy can often move through all five stages within a single relaxed week, one short session per day. The goal isn’t speed. It’s making sure every session ends before he gets bored or wiggly, so clippers stay associated with easy wins.
A two-year-old rescue with an unknown grooming history
This dog may need weeks at the acclimation and paw-handling stages alone, with no rush toward actual trimming. Unknown history means unknown associations. Moving faster than his comfort allows can undo trust that took real time to build.
A twelve-year-old dog with mild arthritis, generally cooperative
This dog may already tolerate handling fine. What he needs is a physically different setup. That means lying on his side rather than standing, extra time to settle, and more frequent breaks. The training stages matter less here than the physical accommodation around them.
A step-by-step trimming session
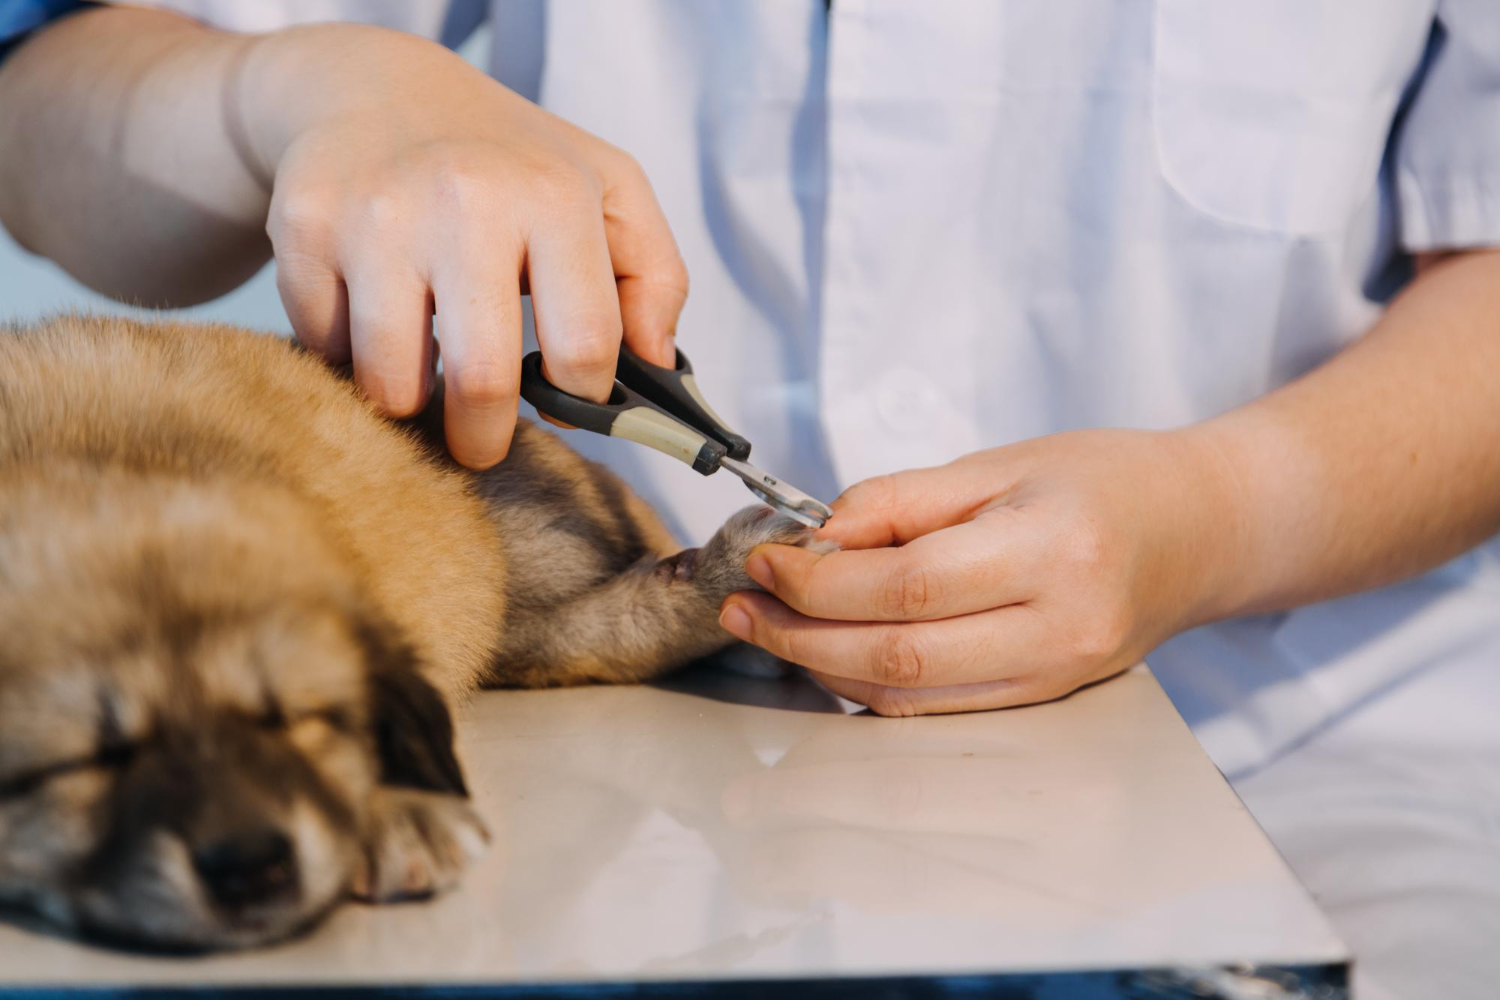
Once your dog tolerates the earlier stages, an actual trimming session follows a simple sequence.
- Settle into position. Have your dog sit or lie in a comfortable, familiar spot, with good light on the paw.
- Hold the paw gently. Support it without squeezing, and keep it close to its natural resting position rather than pulling it up high.
- Identify the quick for that specific nail before you cut anything.
- Cut at a slight angle, following the nail’s natural downward curve, roughly 45 degrees.
- Trim conservatively. Take a small amount off first rather than guessing at the full length in one cut.
- Check the cut surface, especially on dark nails, before deciding whether to trim more.
- Reward immediately after each nail, not just at the end of the session.
How much to trim on light and dark nails
On light nails, stop as soon as you see the faint pink of the quick. It appears at the center of the cut surface. That’s your signal to leave the rest for next time.
On dark nails, trim in thin slices and inspect the cut end after each one. Once you see a small black or gray dot appear in the center, surrounded by a lighter ring, stop. That dot is the quick starting to show, and cutting further risks nicking it.
When in doubt, trim less
A nail trimmed slightly too conservatively just means an earlier follow-up session. A nail trimmed into the quick means pain, bleeding, and a dog who’s more anxious about the next trim. The safer error is always the smaller cut.
How often you should trim
Every three to four weeks works for most dogs, though the right interval depends on activity and surface. A dog who walks daily on concrete or asphalt gets some natural filing from that friction. He may need less frequent trims as a result. A mostly indoor dog on carpet gets none of that benefit and usually needs the fuller schedule.
Rather than trimming on a fixed calendar alone, use the signs above as a cross-check. If you’re hearing clicking on the floor before your next scheduled date, it’s fine to trim early.
Signs you might be trimming too often
Nails that bleed easily from very minor contact are one warning sign. So is a dog who’s grown noticeably more resistant to trims over time. Both can signal a schedule that’s too aggressive. Give the quick more time to recede between sessions, and trim smaller amounts more conservatively.
Signs you’re not trimming often enough
Loud, constant clicking, visible curling, and a dog who’s started avoiding certain floor surfaces are all signs. They mean the interval has stretched too long. Shortening the gap between trims, even temporarily, helps catch the length back up gradually rather than all at once.
Dewclaws need their own attention
Dewclaws are the small nail higher up on the inside of the leg. They don’t touch the ground and get no natural wear at all. Left untrimmed, they’re especially prone to curling into the skin, causing pain and infection.
Check dewclaws every time you trim the other nails, even if they seem shorter. It’s easy to forget them. They’re out of the way and don’t click on the floor to remind you.
Keeping cooperative care going long term
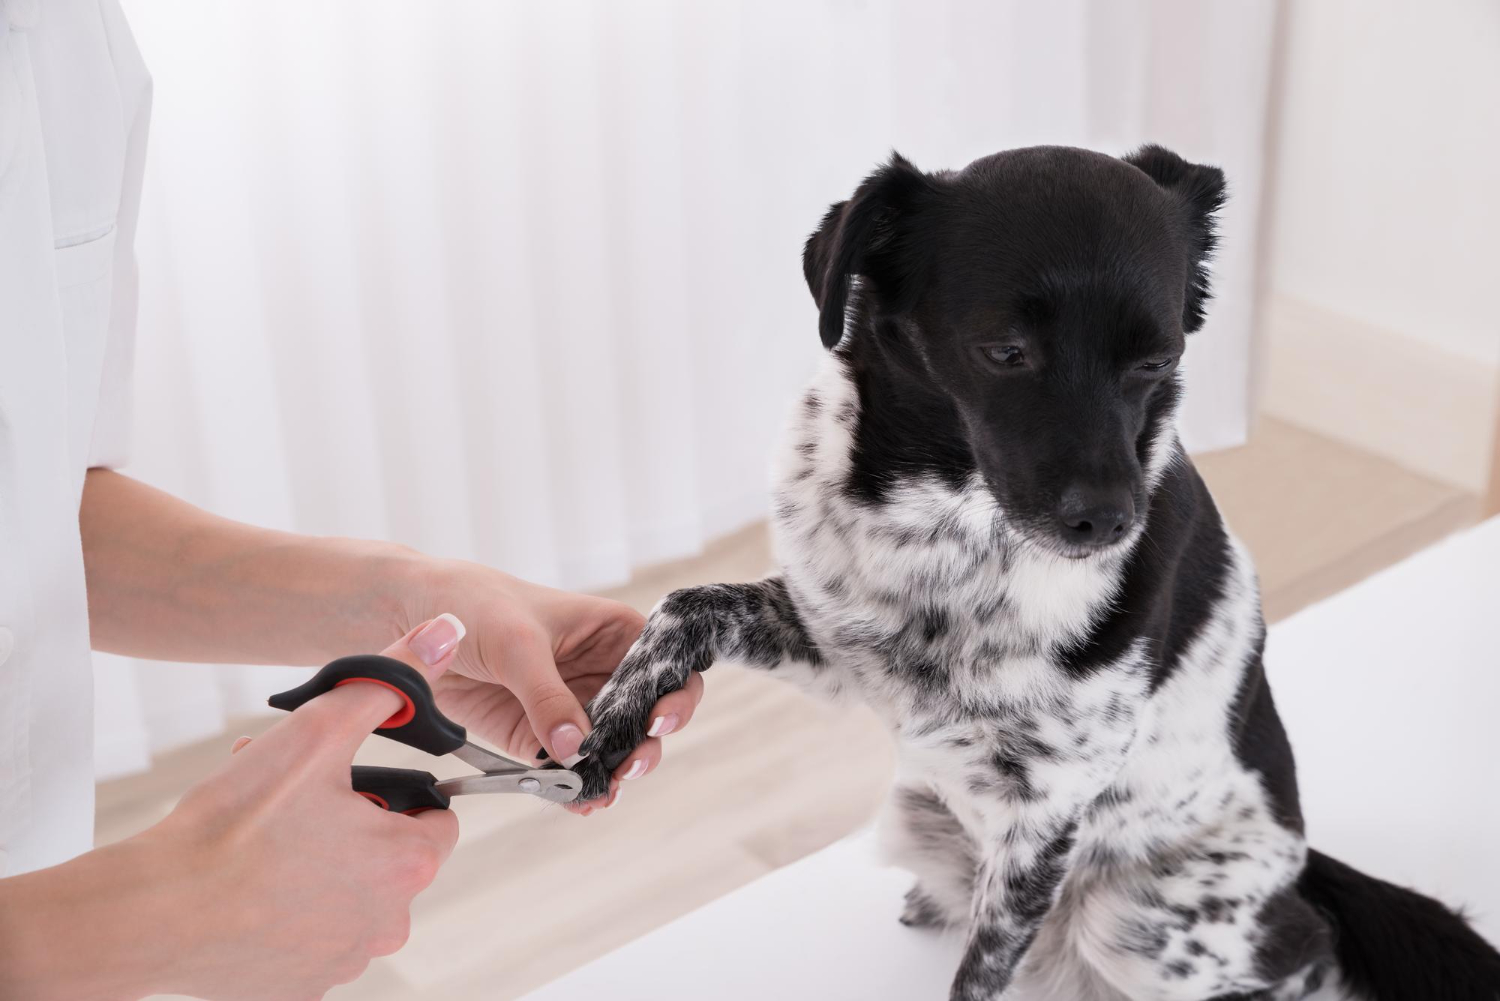
Cooperative care isn’t a one-time certification. Skills fade without occasional practice, the same way any trained behavior does.
Knowing how to trim dog nails is a skill that fades without upkeep, like any other. A short refresher keeps the association fresh. A few paw touches and one relaxed practice trim between full sessions is enough. That works even during a busy month when a full trim isn’t happening. If you notice your dog getting more resistant after a long gap, that’s normal. It isn’t a sign you did something wrong. Just spend a session or two back at an easier stage before resuming the full routine.
A note on consistency between household members
If more than one person handles trims, make sure everyone uses the same pace and the same stopping rules. A dog who’s calm with one household member but tense with another is usually responding to something real. Often it’s a difference in handling speed, not a personal preference.
What this teaches beyond nail trims
A dog who’s learned to opt into paw handling generally tolerates ear checks, teeth brushing, and vet exams better too. The specific skill is paw handling. But the underlying lesson runs deeper: calm participation gets rewarded, and discomfort gets respected. That carries over into nearly every other kind of handling he’ll need throughout his life.
If you cut the quick: bleeding first aid
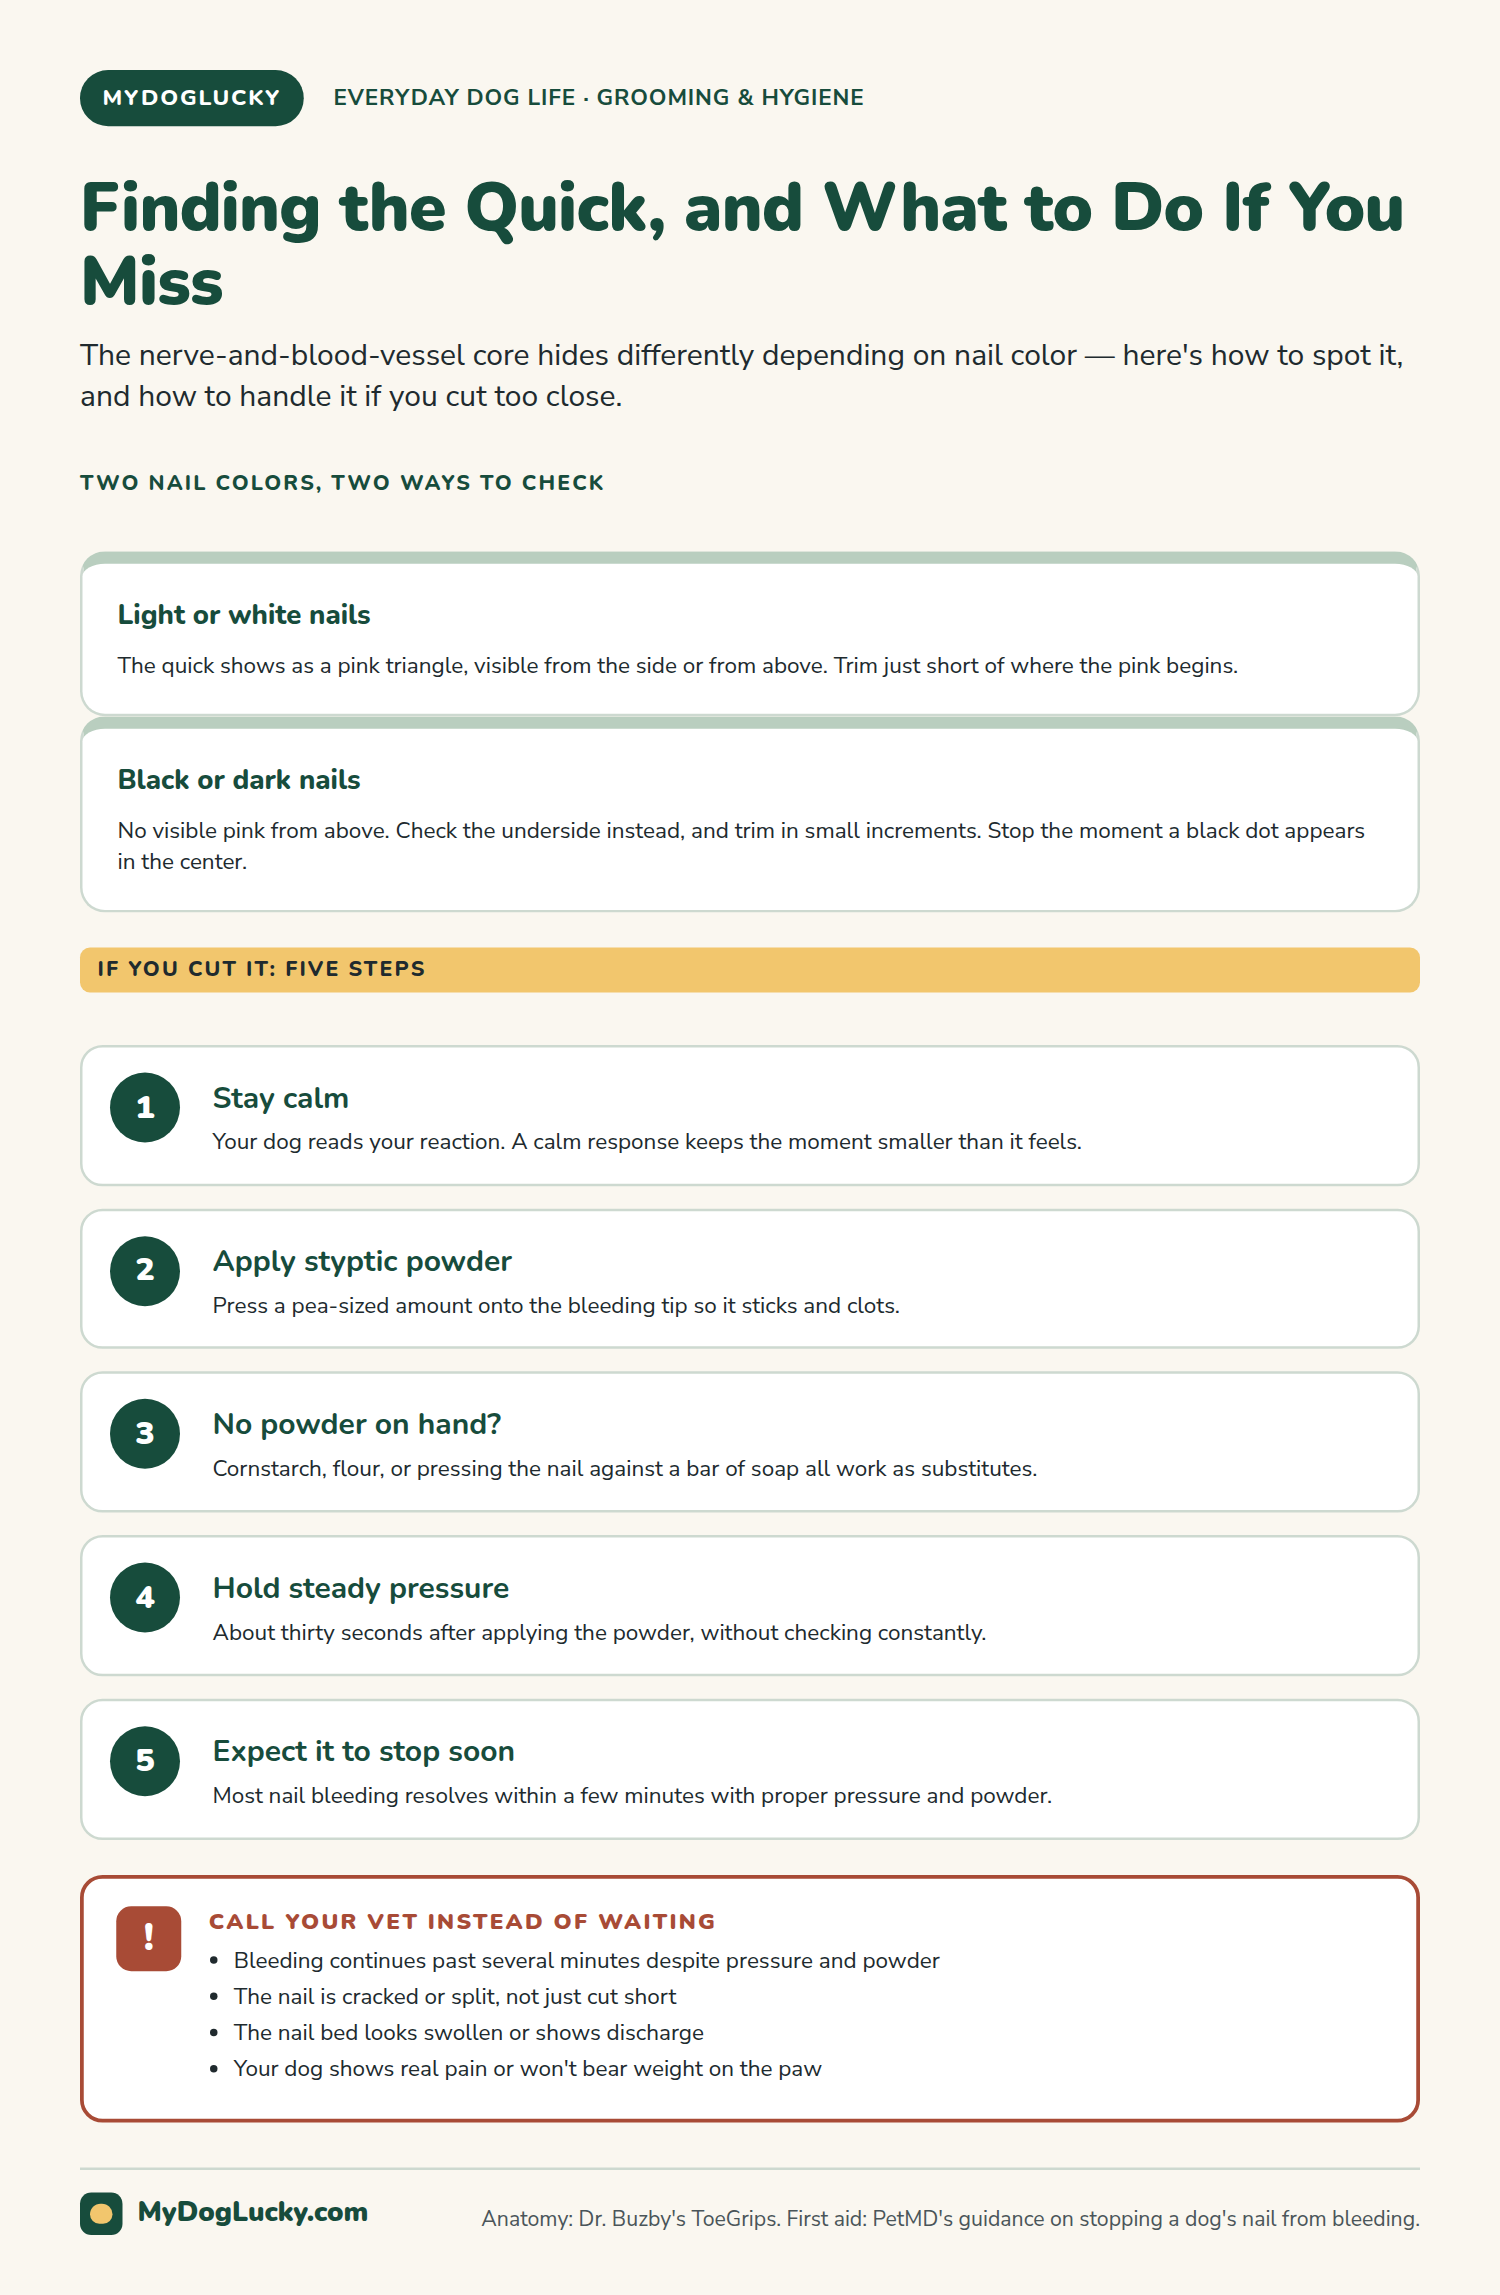
Cutting the quick happens to nearly every dog owner eventually, even careful ones. Knowing what to do in advance keeps a small accident from becoming a bigger stressor for both of you.
- Stay calm. Your dog reads your reaction, and a calm response keeps the moment smaller than it feels.
- Apply styptic powder directly to the bleeding tip. Press a pea-sized amount onto the nail so it sticks and clots.
- No styptic powder on hand? Cornstarch, flour, or pressing the nail against a bar of soap all work as reasonable substitutes.
- Hold gentle, steady pressure for about thirty seconds after applying the powder.
- Expect it to stop within a few minutes. Nail bleeding usually resolves quickly with proper pressure and powder.
Call your vet if bleeding doesn’t stop
If bleeding continues for more than several minutes despite pressure and styptic powder, call your vet. A cracked or fractured nail is different from a clean trim into the quick. It also warrants a vet call to prevent infection.
One bleeding nail doesn’t mean you did something unforgivable. It means the next trim, take a little less off that particular nail, and move on.
Troubleshooting a dog who won’t hold still
He pulls his paw away constantly
Go back a stage in the cooperative-care sequence. A dog who’s struggling at the trimming stage often does better with a step back. Return to proximity or contact practice for a few sessions before trying again.
He tolerates the front paws but not the back
Back paws are less familiar territory for most dogs. Spend extra acclimation time there specifically, rather than assuming the front-paw progress transfers automatically.
He’s fine until he hears the clip sound
Practice the clipping sound away from his paws first, rewarding calm reactions, before reintroducing it near his nails.
He shuts down or goes stiff
A frozen, stiff dog isn’t a calm one. Stop the session entirely and consult a certified trainer or behaviorist. Pushing through shutdown can make future handling harder, not easier.
He’s fine with me but tenses up with my partner
This usually comes down to pace and timing, not a preference for one person over another. Have the less-practiced handler start back at the acclimation stage, moving at a genuinely slower pace than may feel necessary.
One dog in a multi-dog household is much harder than the others
Trim easier dogs first if that’s practical, so the harder dog isn’t waiting and building anticipation while he watches. Keep his sessions separate from the group rather than trying to fold him into a group routine before he’s ready.
Starting nail trims with puppies
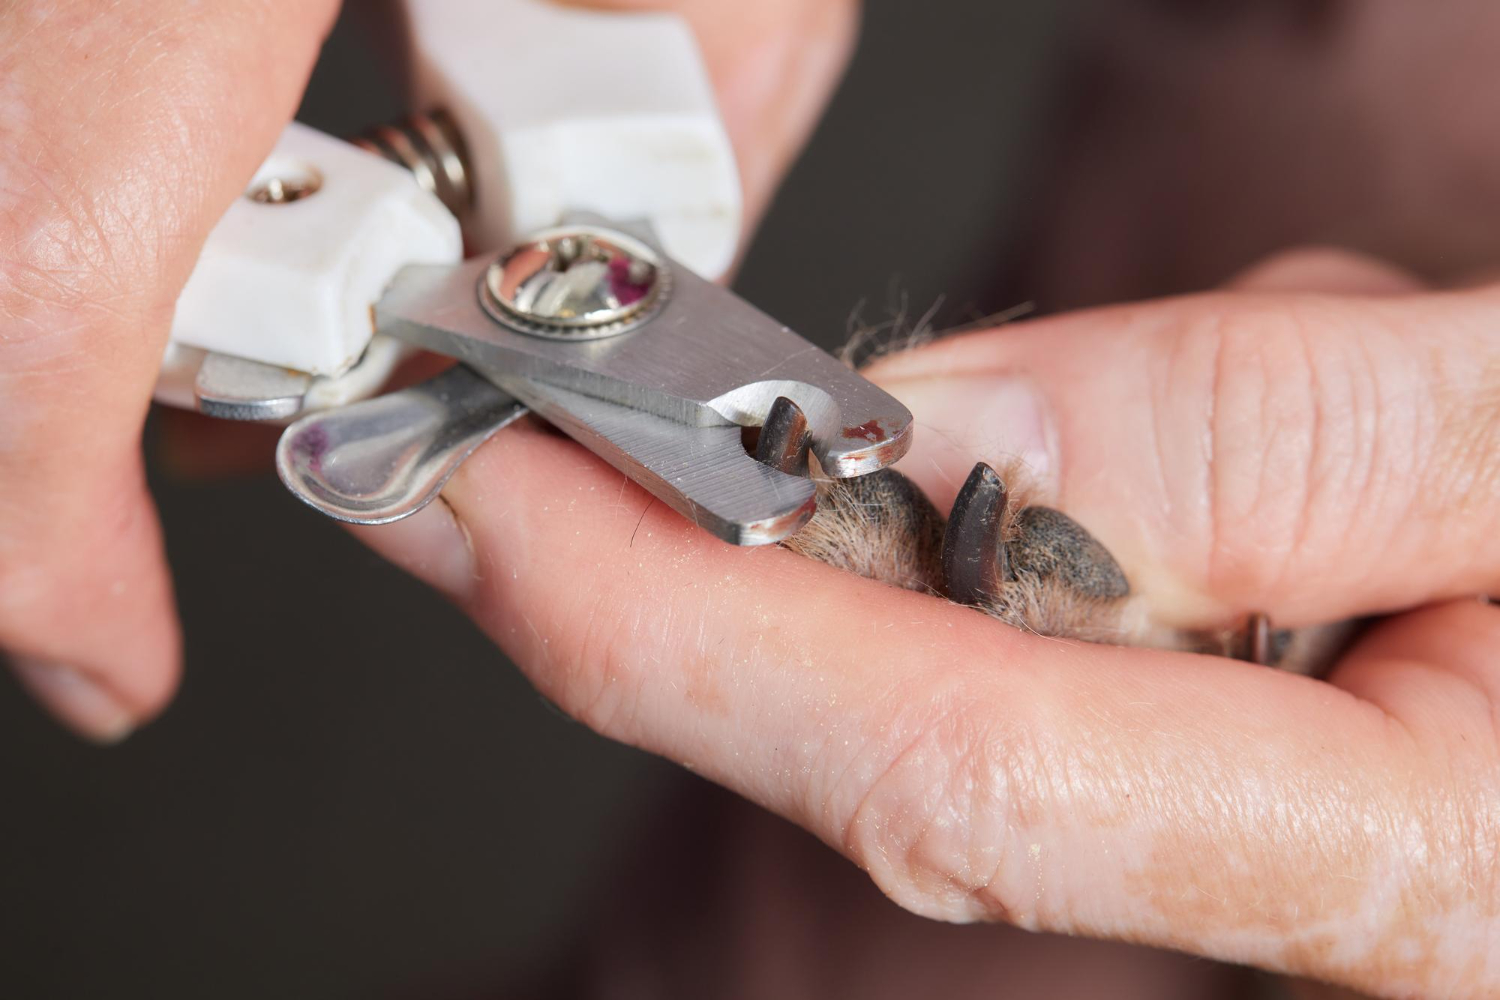
Puppy nails are thin, sharp, and grow fast, which makes early, frequent, low-stakes handling valuable. Gentle paw touching and short trimming sessions from an early age pay off later. A puppy raised this way typically grows into an adult who tolerates them far more easily.
Keep early puppy sessions extremely short, sometimes just one nail. End on a positive note well before he gets restless. The goal at this stage is a good association, not a complete trim.
Senior dogs and nail care
Senior dogs often need trims more often, not less. Their nails may grow thicker. Their natural activity level, and the wear that comes with it, tends to drop too. Arthritic joints also make overgrown nails a bigger mobility problem. Poor traction adds strain to joints that are already working harder.
A senior dog with mobility limits may do better lying on his side for a trim. That beats standing or sitting for a dog whose joints ache. Go slower than you would with a younger dog, and watch closely for discomfort during handling. Pain tolerance and joint flexibility both change with age.
Common nail-trimming mistakes
Trying to finish all four paws at once with an inexperienced dog
This is the fastest way to turn a manageable session into a stressful one. Spread it across several short sessions instead, especially early on.
Cutting straight across instead of at an angle
A straight cut is more likely to catch the quick than one following the nail’s natural downward curve.
Skipping the dewclaws
They’re easy to miss and just as prone to overgrowth and ingrowing as any other nail.
Only handling paws on trim day
Paws that only get touched right before clippers appear stay novel and alarming indefinitely. Regular handling outside of trim sessions builds real tolerance.
Restraining a struggling dog harder instead of pausing
Physically forcing a trim through resistance tends to make the next attempt worse, not better. A pause and a return to easier stages almost always pays off more in the long run.
Common myths about nail trims
“Active dogs never need their nails trimmed”
Walking on pavement provides some natural filing, but it rarely wears nails down evenly or completely on its own. Most active dogs still need periodic trims, just possibly less often than a mostly indoor dog.
“If it bled once, my dog will never tolerate trims again”
A single bad experience sets you back, but it doesn’t end the process permanently. Returning to earlier cooperative-care stages and rebuilding slowly usually restores tolerance over time.
“Dark nails can’t be trimmed safely at home”
They’re harder, not impossible. Small, careful cuts with frequent checks of the cut surface work on dark nails too. A grinder makes the margin for error even wider.
“A groomer or vet will judge me for struggling with this”
Professionals see difficult nail trims constantly. Asking for help is a routine request, not an admission of failure. Most are glad to show you technique in person if you ask.
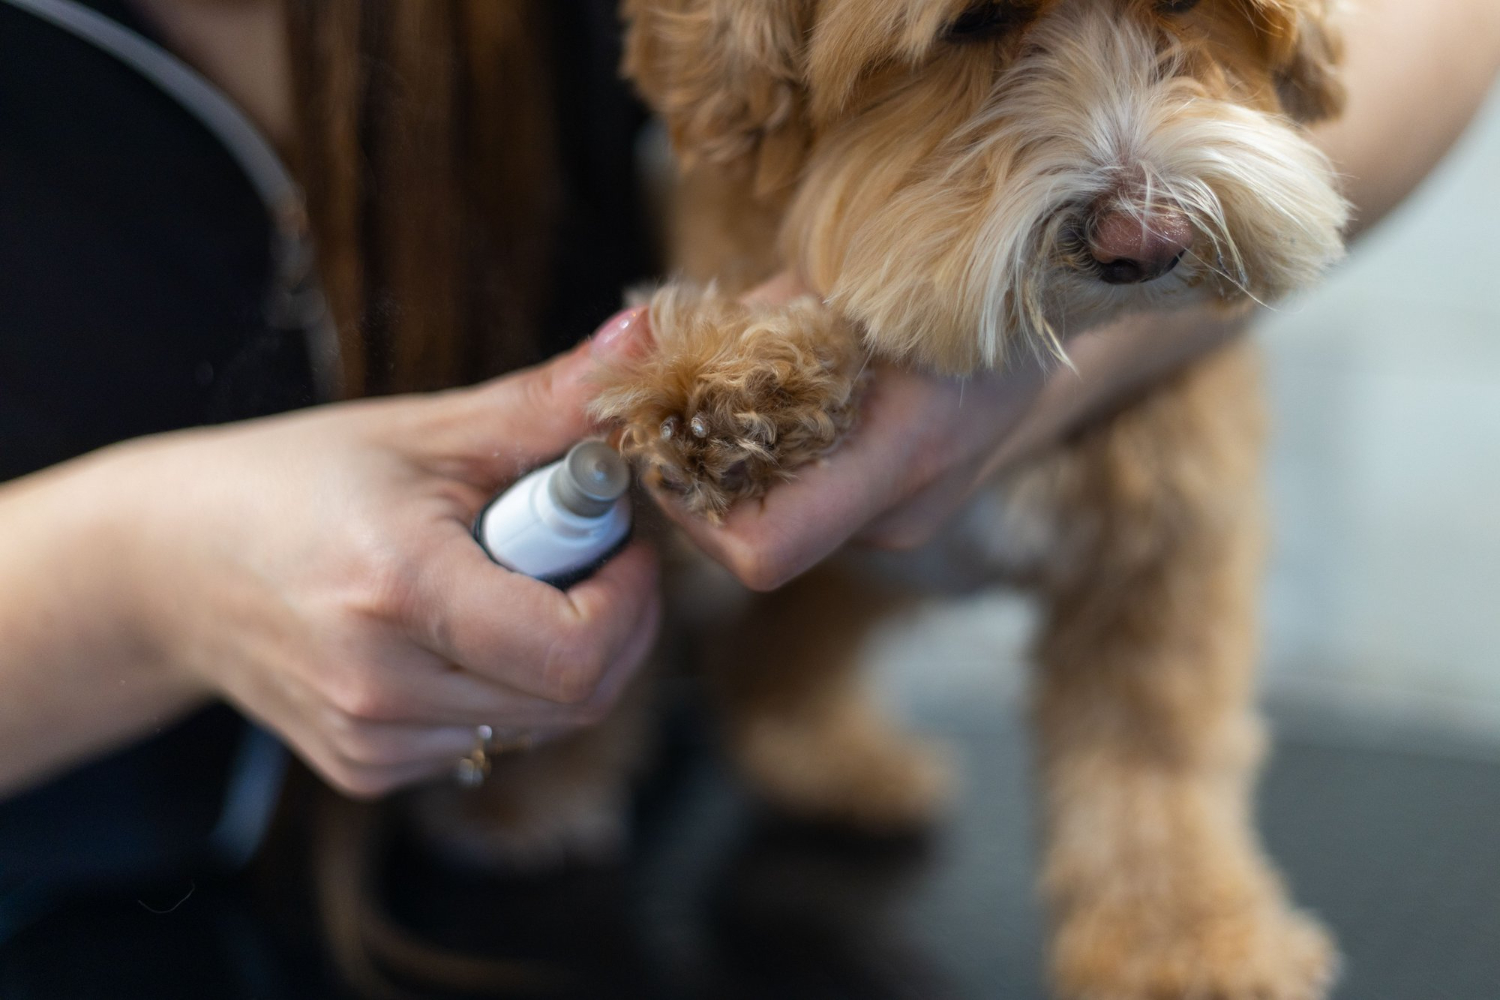
When nail changes point to something else
Most nail issues are simply about length and trimming habits. Some changes point toward something a trim alone won’t fix.
- Sudden brittleness or splitting across multiple nails, not just one that grew too long.
- A change in nail color that isn’t consistent with his normal pigmentation.
- One nail growing noticeably differently from the rest, thicker, more curved, or oddly shaped.
- Swelling, discharge, or a foul odor at the nail bed itself.
These patterns are worth mentioning to your vet rather than working around with a trim. Nail changes can sometimes reflect a broader health issue. A professional look rules that out far better than guessing at home.
When to turn to a groomer or vet
Some situations call for professional help rather than pushing through at home. None of these are a failure on your part. They’re simply the smarter call.
A groomer can help when
- Your dog tolerates handling from someone other than you better than from you specifically.
- His nails are severely overgrown and need a gradual multi-session approach.
- You’re consistently missing the quick and cutting too much.
A vet should be involved when
- There’s redness, swelling, or discharge at the nail bed.
- A nail is cracked or split rather than simply overgrown.
- Your dog shows genuine aggression around paw handling.
- Bleeding from a trim won’t stop after several minutes of pressure and styptic powder.
A single difficult session doesn’t mean you need to hand off nail care permanently. But a pattern of real struggle is different, especially one that seems to be getting worse rather than better. That’s worth outside help before it becomes a bigger behavioral issue. Watching a professional handle a full trim, even once, helps too. It gives you a useful technique reference for your own sessions afterward.
Grinding, filing, and other options
Clipping isn’t the only route to short nails. A grinder removes small amounts of nail gradually through filing rather than a single cut. Some owners and dogs find that less alarming, once the noise itself is no longer novel.
Scratch boards and textured walking surfaces can also help file nails down between trims. They rarely replace trimming entirely for most dogs, though. A scratch board works by having your dog perform a natural scratching motion against a textured surface. Each rep files the nail tip a little more. It suits dogs who already know a “scratch” cue better than ones just starting cooperative care. That’s because it still requires calm, willing participation.
Regular walks on concrete or asphalt provide some natural filing too. That’s part of why very active outdoor dogs sometimes need less frequent trims than mostly indoor ones. None of these alternatives fully replace periodic trimming or grinding for most dogs. They can, however, meaningfully stretch the interval between full sessions.
Your nail-trimming checklist
Bookmark this section for a quick pre-trim reference.
- Calm, well-lit space chosen, ideally after exercise.
- Right tool on hand for your dog’s size and nail color.
- Treats ready before you start.
- Quick identified for the specific nail before cutting.
- Small, conservative cuts, checked after each one on dark nails.
- Dewclaws checked along with the rest.
- Styptic powder within reach, just in case.
Seven checks, and how to trim dog nails stops being a source of dread for either of you.
Keep a simple log
Jot down the date after each trim, even just on a kitchen calendar. That makes the rhythm easy to track without relying on memory. It also makes it easier to notice if your dog’s tolerance is trending better or worse over several sessions.
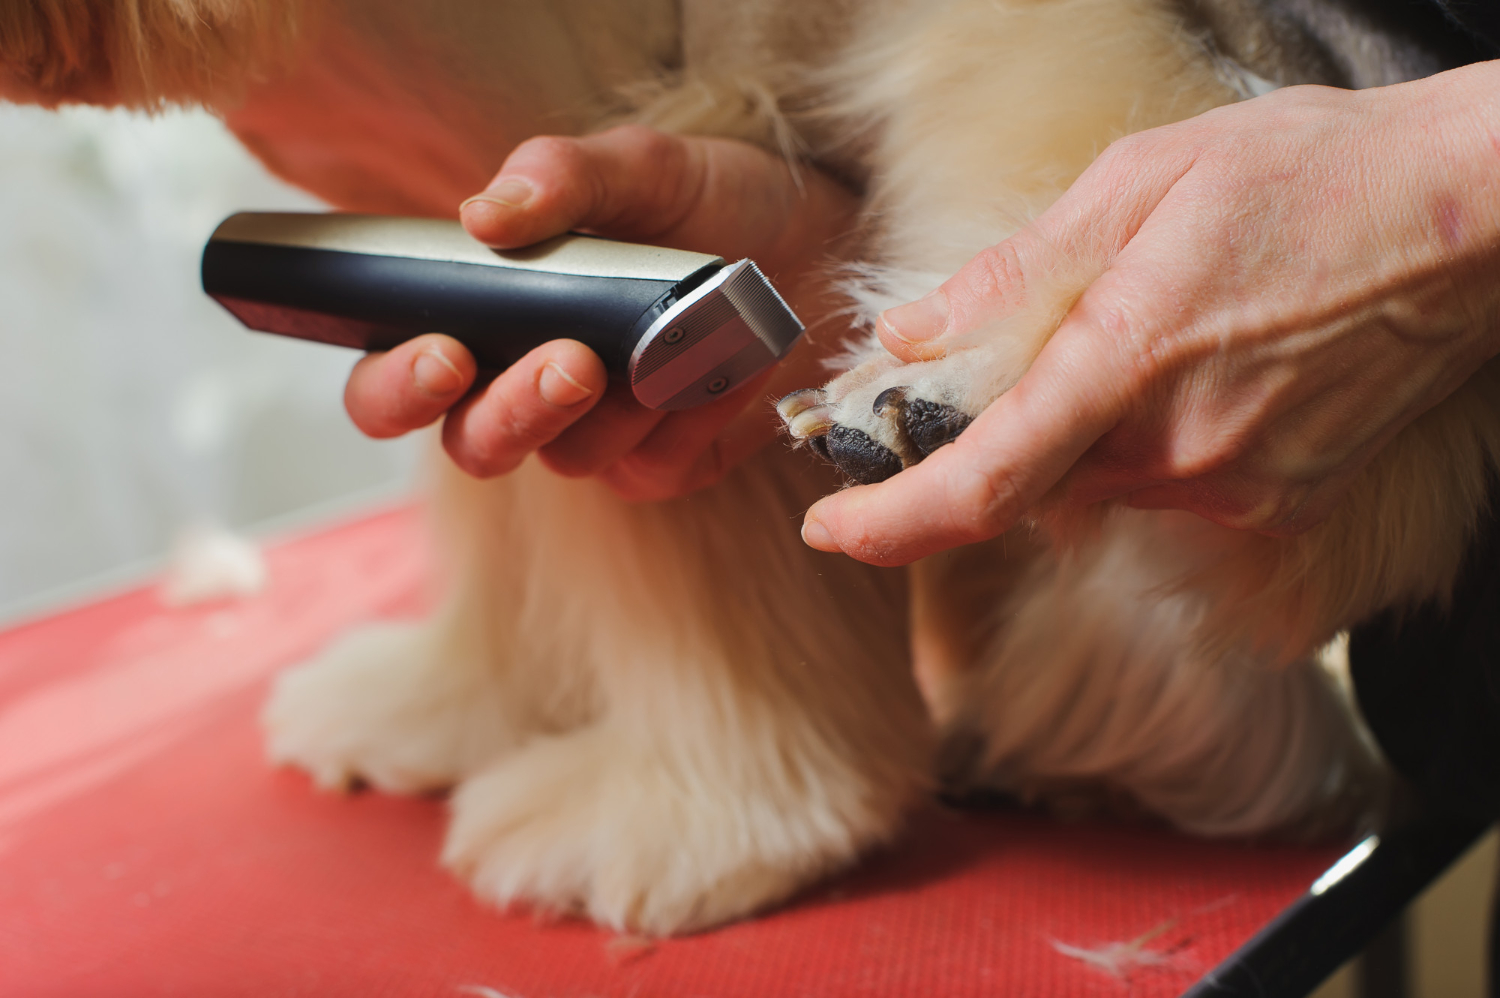
Common questions about trimming dog nails
How do I know if my dog’s nails are too long without measuring?
If you can hear clicking on a hard floor while he walks normally, they’re due for a trim.
Can I use human nail clippers on a dog?
Not recommended. Human clippers aren’t shaped for a dog’s thicker, curved nail structure and tend to crush rather than cleanly cut it.
My dog growls when I touch his paws. What now?
Stop immediately and don’t push through it. Growling is communication, not defiance. This situation calls for a certified trainer or veterinary behaviorist rather than continued home attempts.
Is it normal for one nail to bleed more than others?
Yes. Nail length and the quick’s position vary slightly between nails, even on the same paw. One nail bleeding while others don’t isn’t unusual.
Should I trim nails before or after a bath?
Either works, though some owners find nails slightly easier to trim right after a bath, when they’re marginally softer.
How long does it take for a dog to get comfortable with nail trims?
It varies widely by dog. Some adjust within a few sessions; others take weeks of short, positive practice. Consistency matters more than speed here.
Can overgrown nails really cause long-term damage?
Yes, if left unaddressed for a long time. Chronic overgrowth can alter gait and posture in ways that stress joints over months and years. It’s not just a single uncomfortable walk.
What if my dog’s nails are naturally very dark and I can never find the quick?
Trim in very thin slices and check the cut surface after each one. A grinder can also make this safer, since it removes material more gradually than a single clip.
Do nail caps or covers replace regular trimming?
No. Nail caps sit over the existing nail, which still grows underneath and still needs trimming on its normal schedule.
Can I trim my dog’s nails myself if he’s already had a bad experience at a groomer?
Yes, and starting fully back at the acclimation stage is usually the right move. A single bad experience doesn’t mean home trims are off the table. It does mean rebuilding trust from the very beginning, though, rather than picking up where things left off.
Is it normal for nail trims to seem harder in some seasons than others?
Somewhat. Nails that get more natural wear from summer walks on pavement can be shorter and easier to manage. Nails that grew unchecked over a housebound winter usually aren’t.
How do I trim nails on a dog who won’t sit still for any handling at all?
Start well before nails are even involved, with brief, rewarded touches to the legs and paws during ordinary calm moments. Build tolerance for handling in general before introducing tools at all.
Do all four paws grow nails at the same rate?
Not always exactly. Front nails often need slightly more frequent trims than back nails. Front paws typically bear more weight and can wear differently.
Is it true that dark nails are always harder to trim than light ones?
Generally yes, simply because the quick is harder to see from above. The underlying technique, trim small amounts and check often, is the same for both.
Can a nail trim ever be a genuine emergency?
A trim itself rarely is. But a few things are. A cracked or split nail is one. Heavy bleeding that won’t stop, or a nail bed with obvious swelling and discharge, are two more. Any of those is reason to call your vet rather than wait for a routine appointment.
Is there a single best way to learn how to trim dog nails as a total beginner?
Start with the cooperative-care sequence before you ever pick up a clipper. That order matters more than the brand of tool you choose. Watch a groomer or vet tech do a few trims in person if you can, even just once. Seeing the technique up close makes the mechanics click faster than any written guide alone. It also gives you a real-world pace to copy at home.
Sources
- PetMD. How To Trim Dog Nails (Dr. Amber Karwacki, DVM; Angela Sexton, National Certified Master Groomer)
- Preventive Vet. Dog Cooperative Care
- PetMD. How to Stop a Dog’s Nail From Bleeding
- Dr. Buzby’s ToeGrips. Dog Toenail Anatomy 101
- Great Pet Care. 7 Ways to Tell Your Dog’s Nails Are Too Long (Tierra Price, DVM; reviewed by Brittany Kleszynski, DVM)
This article is general education for U.S. dog owners. It is not individualized veterinary advice. Ask your veterinarian about anything specific to your dog.




Trackbacks/Pingbacks